How to Change Your Servers Location
This guide will cover the process of moving your server to a new location.
Open your Dashboard.
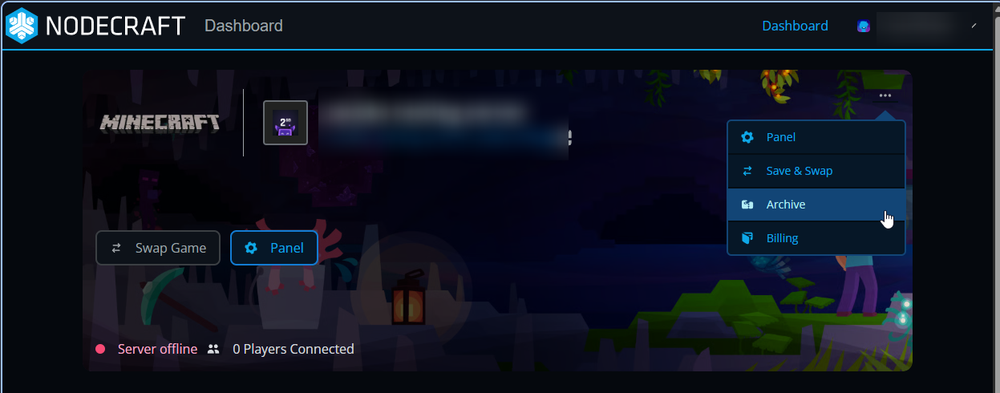
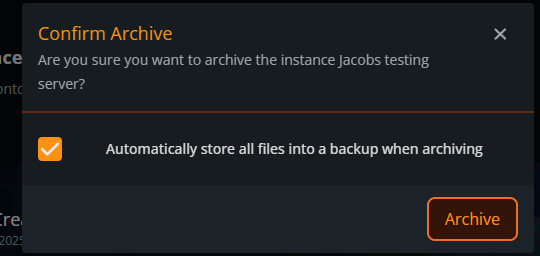
Once on your dashboard find the server instance that you'd like to change its location. Click on the “...” in the upper right corner and select archive. You will be asked to confirm the action and ensure all files are set to be stored.
Once the archive is completed you should see the instance appear under your “Saved Server instances”.
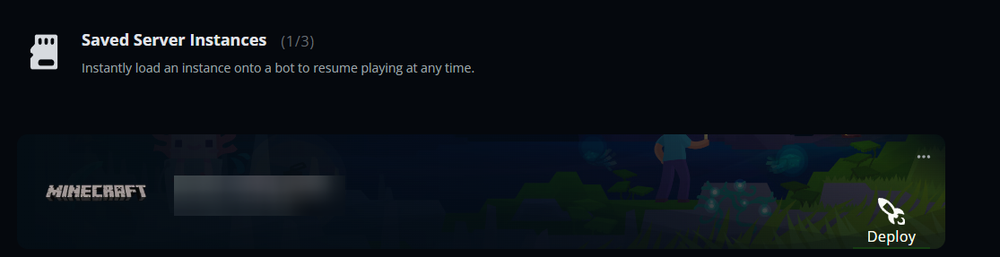
Click on the “...” on the saved instance and select “Edit Settings”.

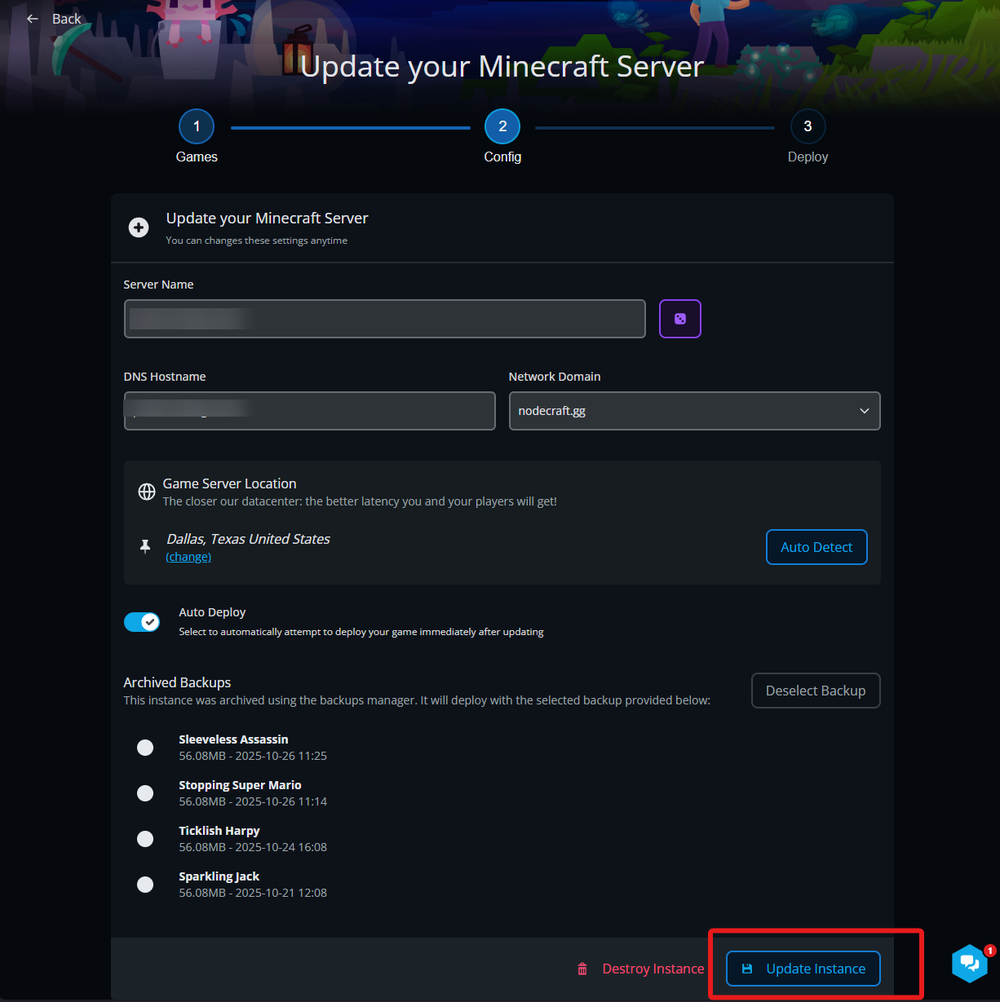
You will be taken to a page that says, “Update your <Game> Server” where you can change your server's name, hostname and domain, however you will want to look for the "Game Server Location” section.
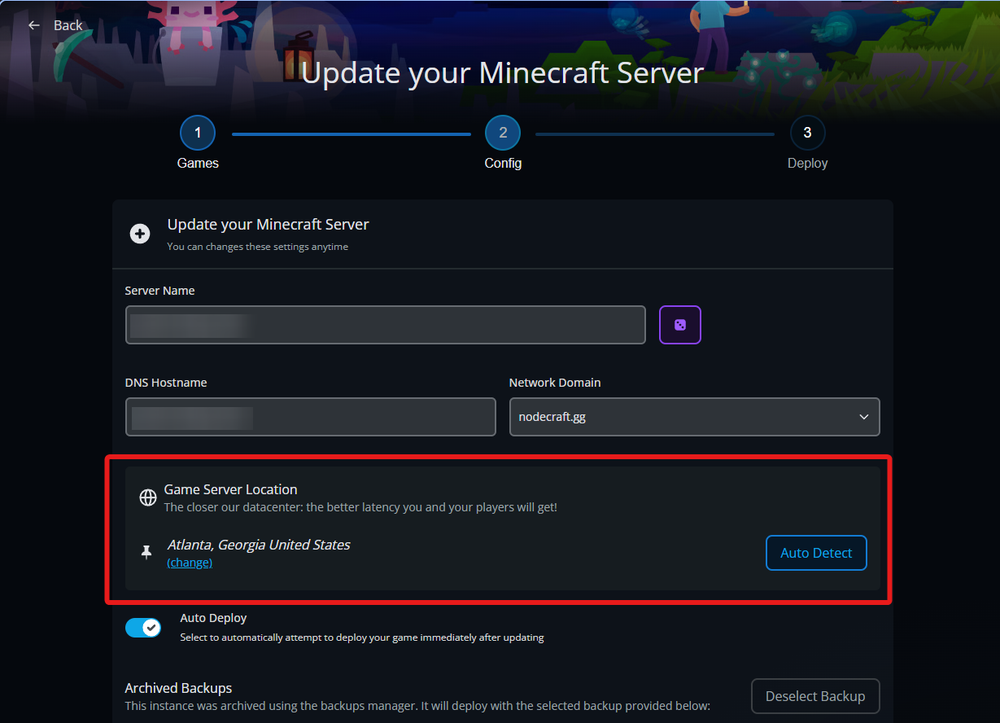
If you recently relocated to another region, you can use the “Auto Detect” button to automatically select the best location for you. If you use “Auto Detect” you may need to grant location permissions for your browser. Once the auto detect is completed click “Update Instance” in the bottom left corner.
If you want to manually select a location, you can click on the “(change)” button under the current location.

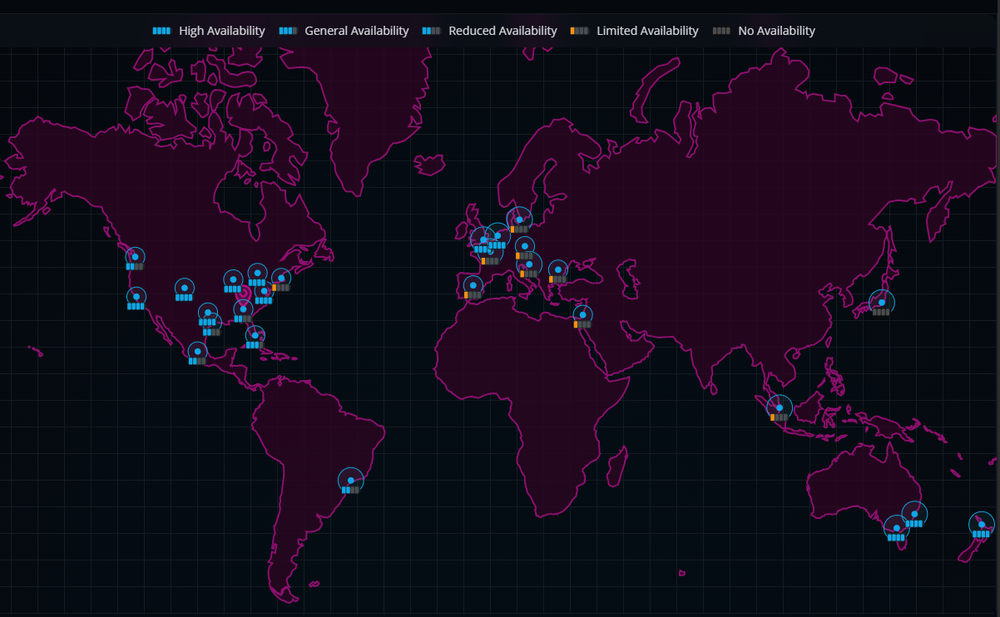
Once on the map page you can either select a location from the map itself or you can click on a location from the list below the map.
Once you select a new location you will be returned to the previous page where you need to click “Update Instance” which will save your new location and start the deployment process to the new selected location.
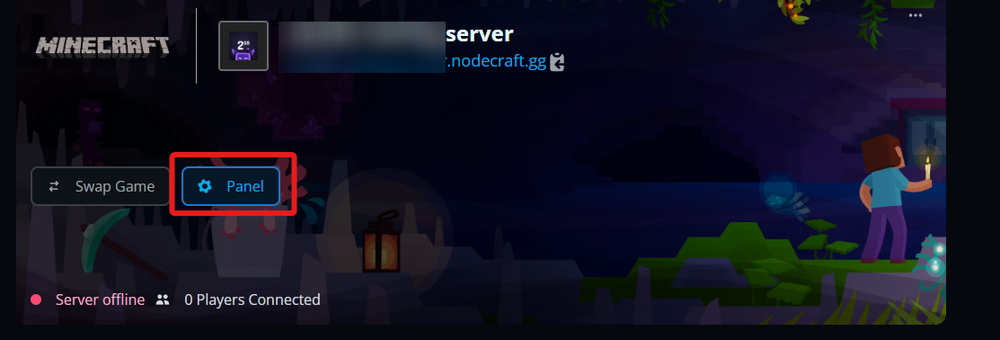
Once done you will be able to return to your panel with the “Panel” button and start your server.
Note: If you use a DNS domain it may take a small amount of time to update and function again, but you will be able to use the dedicated IP and port listed on your panel immediately.
Need Help?
If you have questions or run into any issues, our support team is here to help! Reach out using the support widget on our website or visit our support center for further assistance.