Installing Tebex/Buycraft Manually: A Guide for Minecraft Server Owners
Tebex Store offers seamless integration with your Minecraft: Java Edition server through official plugins. The Tebex Minecraft Plugin, known as Buycraft, retains its old brand name, so any reference to "Buycraft" in your server logs refers to the Tebex Plugin.
This guide will walk you through how to install the Tebex plugin and use commands for your Minecraft server hosted with Nodecraft!
Create a Tebex Account
If you haven't already, your first step is to create a Tebex account. Here's their website link: https://www.tebex.io/
The Tebex Control Panel is where you'll set up your webstore for your game server, manage payouts, and download the plugin. After registering, you'll be prompted to create your first webstore, where you'll name it, provide a description, and specify the Minecraft Java Edition version you're playing.

Download the Tebex plugin
The next screen you’ll be taken to will be covered in the next steps.
First, you’ll want to download the appropriate plugin for your server.

Install the Correct Plugins Framework for your Nodecraft Server
Before uploading the plugin to your game server, ensure you have the appropriate framework installed. Always make a backup of your server before making changes. You can easily create a backup in the Backups tab of the Nodecraft Pro Panel.
 Once backed up, install the appropriate modding framework for your server using the One-Click Installer tab in the Nodecraft Pro Control Panel.

Upload Tebex Plugin
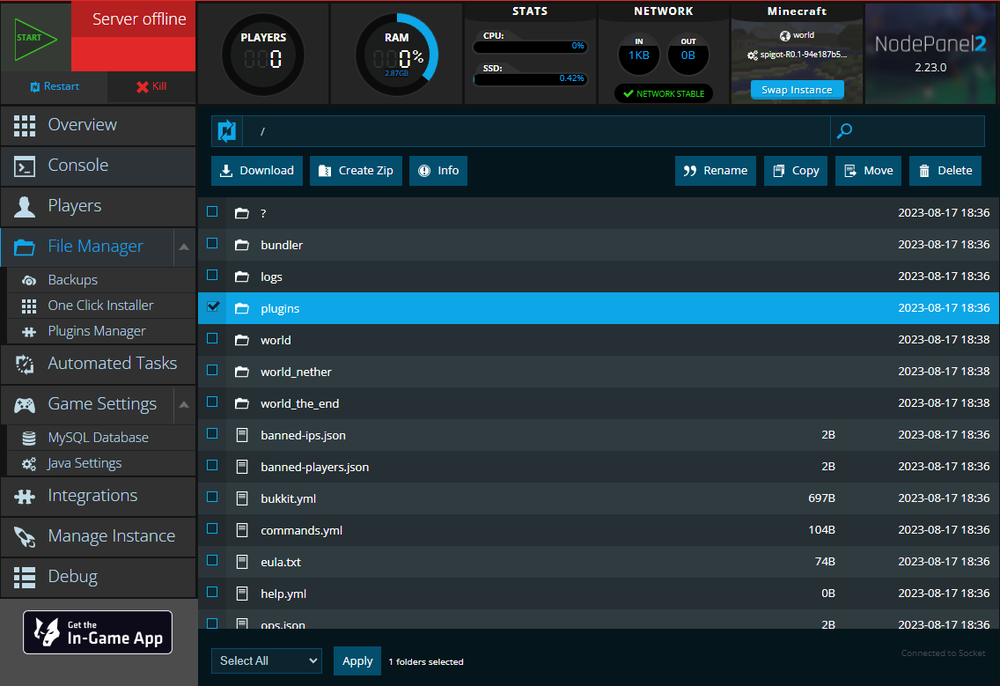
Next, upload the plugin to your server using the Server Files tab.

For Spigot/Bukkit, Bungeecord, and Bukkit (pre 1.13) plugins, install them into the
/pluginsfolder.For Sponge and Forge, install them into the
/modsfolder.
You can drag and drop the plugin directly into the File Manager or use FTP to upload it to your server.
Restart Server
If your server is online, restart it using the Restart button, or stop and then start it again. This will ensure the server registers the newly installed plugin.
Get your Secret Key
Once your server is online, press the Copy Command button on the Tebex website and enter the command into your server's Console.

 This integration allows the webstore to link to your server, ensuring a valid connection is established.
 After linking your webstore to your server with the secret key, you can also type the command
 /buycraft in-game or in the console to confirm that it is successfully linked.
Set up your Tebex Store
After linking, continue to the Tebex Control Panel, where you can configure your webstore for your customers!
 If you ever run into any issues or have questions about setting up your webstore, Tebex has extensive documentation:
https://docs.tebex.io/store/