How to Quickly Find and Join Your 7 Days to Die Server
This guide will show you how to quickly find and join your 7 Days to Die server.
Find Your Server's IP Address
The IP address for your server will be shown on the "Overview" section of the Nodecraft Pro panel, in the "Server Information" portion of that page. The field is labeled "Dedicated IP Address".
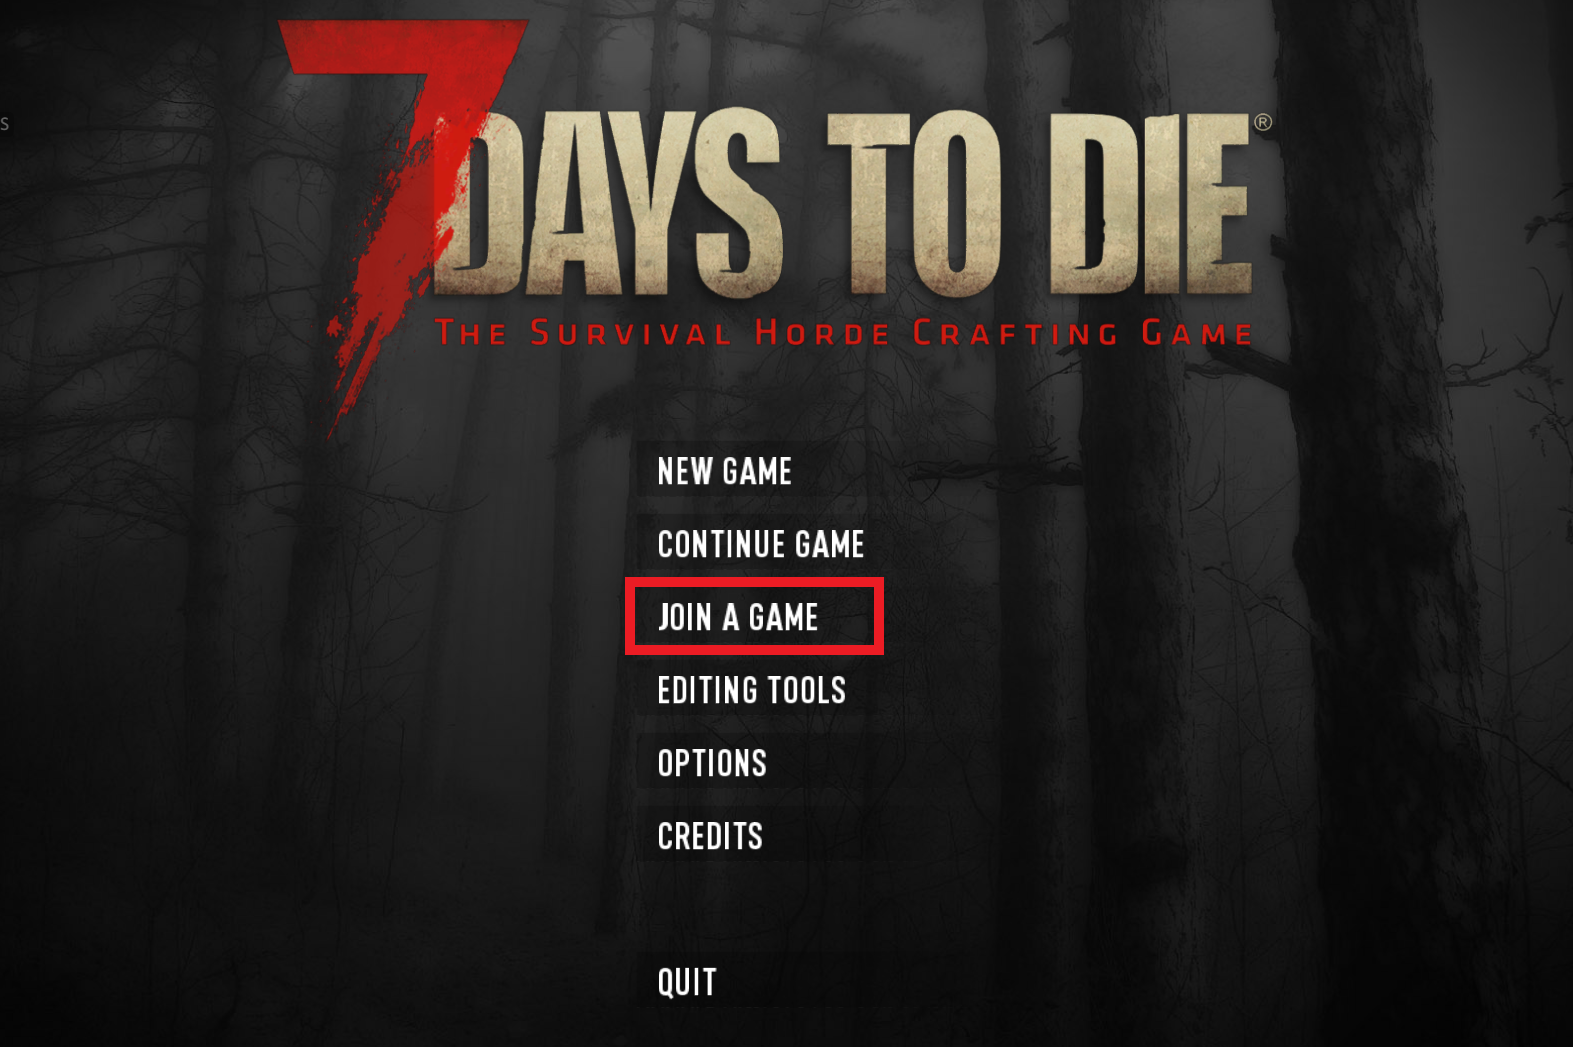
Click on "Join a Game"
From the main title screen of the game, click on the "Join a Game" option.

Click on "Connect to IP..." Button
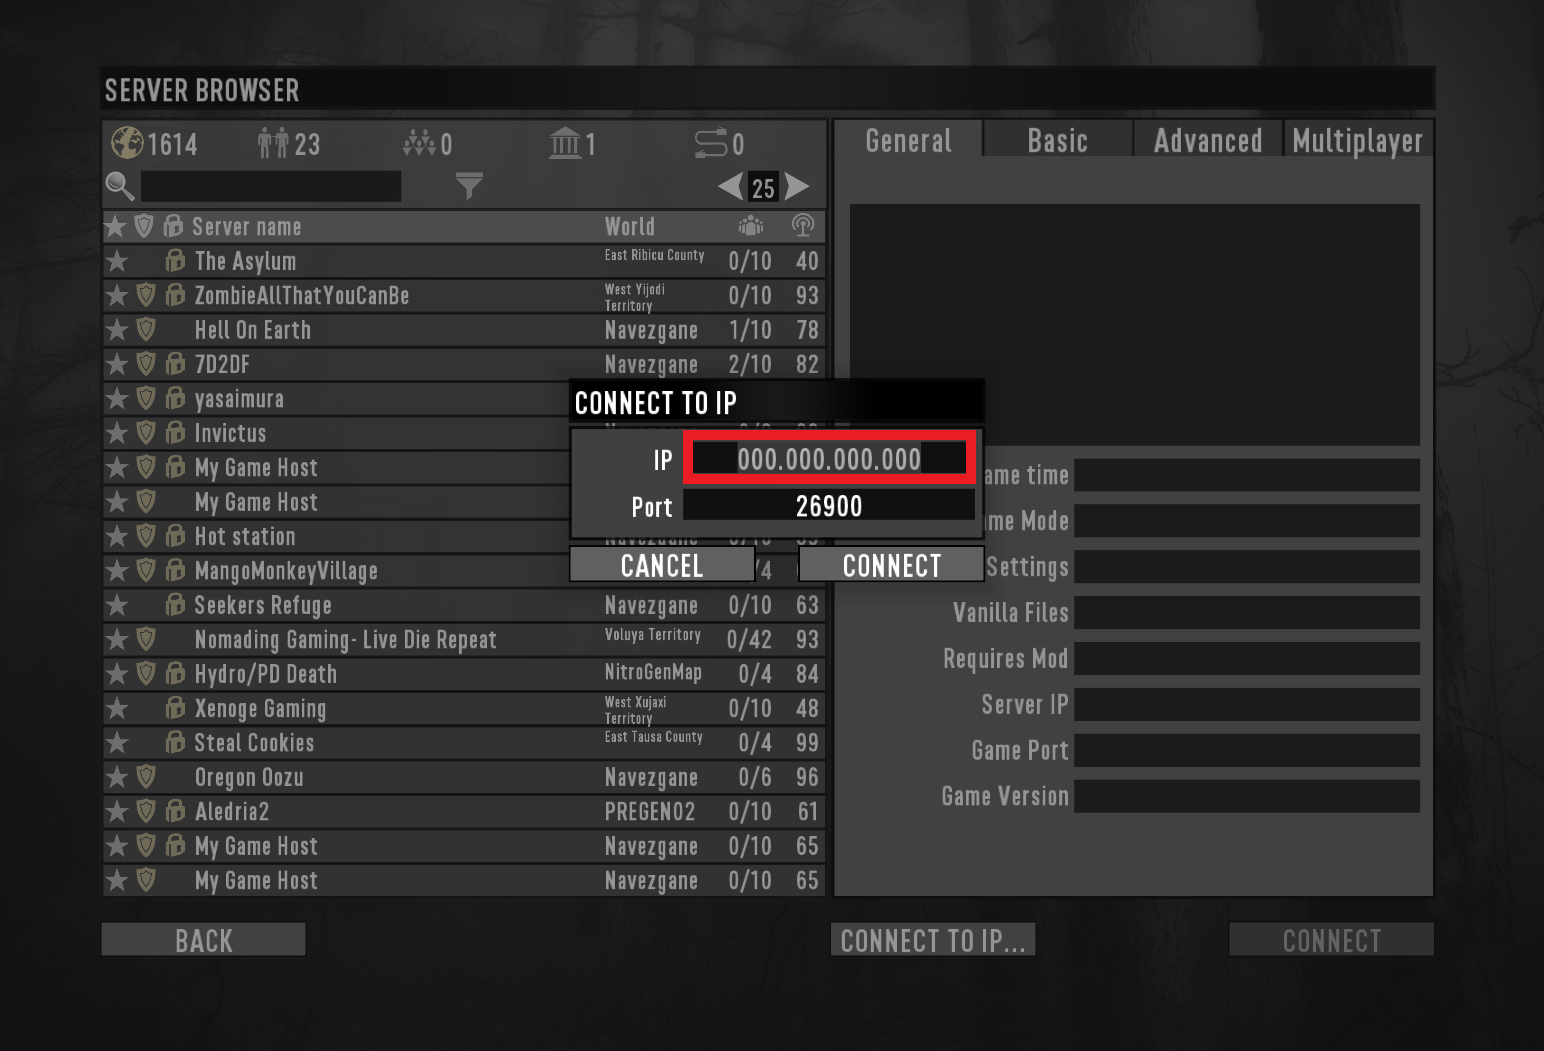
The server listings will appear on the screen. Click on the button at the lower edge of the screen, titled "Connect to IP...". This will cause a small window to open in the center of the screen, requesting the IP address and port for the server connection.
Enter your Server's IP Address
In the small pop-up window, type the IP address for your server into the "IP" field.
The port field should automatically default to 26900. You will not need to change the port unless you've set a different port number than the default of 26900 on your server.
Click the "Connect" button when you are finished entering the IP address.

Server Loading Screen will Appear
You will join the server, and you will see a loading screen, similar to the screenshot below. The client will begin downloading a copy of the world's information.
The world download process generally takes longer the first time you join a server, and becomes quicker when rejoining a server. The estimated time shown can decrease dramatically during the loading time, based on the download progress. Please wait for the download to finish, and you will appear in the game!
Need Help?
If you have questions or run into any issues, our support team is here to help! Reach out using the support widget on our website or visit our support center for further assistance.