How to Install Hytale Mods
Modding is one of the best ways to customize your Hytale experience, from adding new features to changing how the game plays on your server or in single player. This guide walks through where to find Hytale mods and how to install them on your server and game client. You will also learn how mod installation differs across Windows, macOS, and Linux, along with how easily install them through the Nodecraft dashboard. Let's get started!
Where to Find Mods
Right now, the best place to get mods for Hytale is on Curseforge. You can view and download mods here. When you download mods, they can come in either a zip or jar file.
You can find Curseforge mods directly through the Nodecraft dashboard! They are available as a one-click install.
Manual Mod Installation
Using the Mod Manager
Open your Dashboard
Locate your Hytale server and click on the Panel button.
On your panel click on the Mods tab.

Once on the mods click on Install from Curseforge.

Search the mod list for the mod you want to install or use the available search box to look for something specific.
Once you locate the mod you’d like to install, click the Install button to the right.
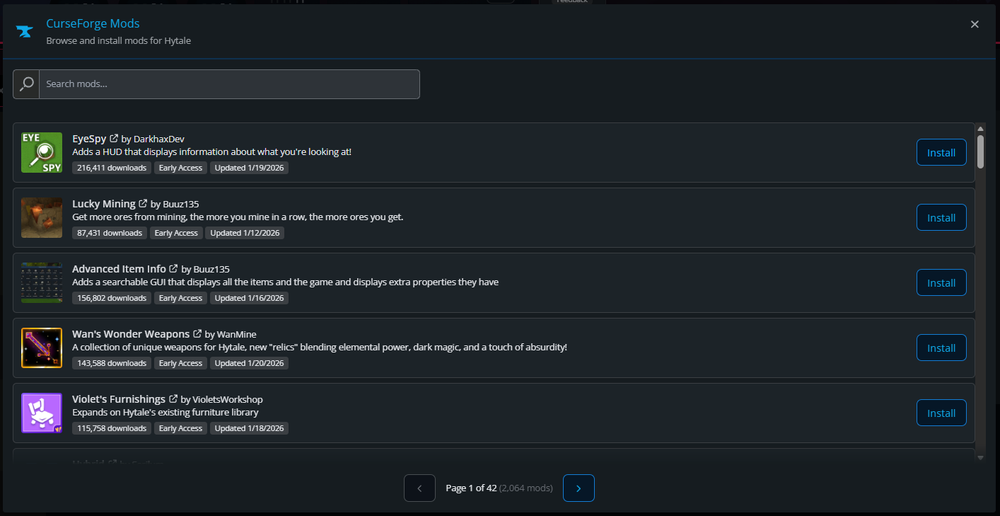
The install is complete when you see Installed. You can then start/restart your server to enable the mod.
Using the File Manager
Open your Dashboard
Locate your Hytale server and click on the Panel button.
Once on your panel, Stop your server then locate and click on Server FIles tab on the left-hand sidebar.

Once the server files have loaded, double click on the Mods folder to open it.
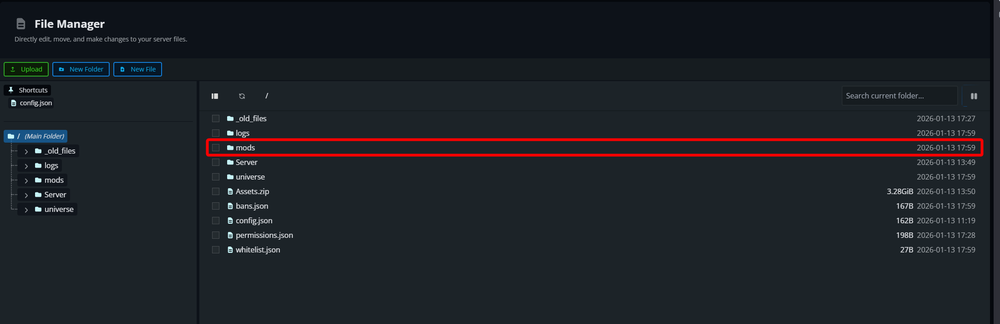
Click on Upload then drag and drop your downloaded mod(s) or click Choose FIles to manually select the files to upload.

Once uploaded, you can Start the server.
You have now installed mods on your Hytale server.
Installing Mods onto Your Game
Windows
Locate the mods folder which can be done two different ways.
Manual location of the mods folder: C:\Users\<windows user>\AppData\Roaming\Hytale\UserData\Mods
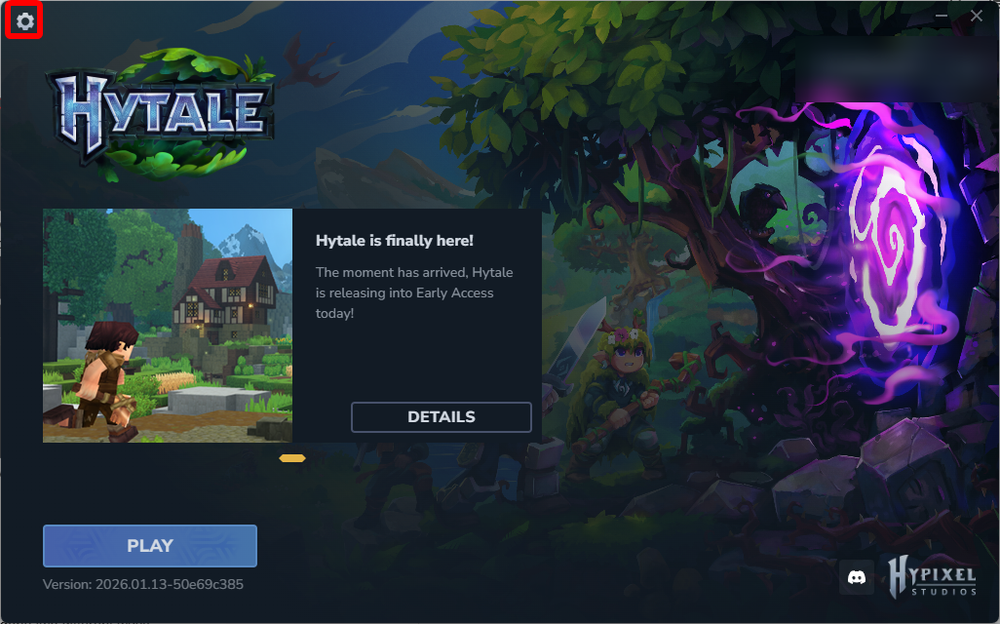
Click on the gear icon in the Hytale launcher in the upper left corner then select Open Directory which will open an explorer window where you can then open the Mods folder.

Now that you are in the mods folder you can copy the downloaded mods.
Once all mods are copied, return to the launcher and click Play.
MacOS
Locate the mods folder which can be done two different ways.
Manual location of the mods folder: /Users/<username>/Library/Application\ Support/Hytale/UserData/Mods
Click on the gear icon in the Hytale launcher in the upper right corner then select Open directory which will open a finder window where you can then open the Mods folder.

Now that you are in the mods folder you can copy the downloaded mods.
Once all mods are copied, return to the launcher and click Play.
Linux
Locate the mods folder which can be done two different ways.
Manual location of the mods folder: /home/<user>/.var/app/com.hypixel.HytaleLauncher/data/Hytale/UserData/Mods
Click on the gear icon in the Hytale launcher in the Left right corner then select Open directory which will open a file browser window where you can then open the Mods folder.
Now that you are in the mods folder you can copy the downloaded mods.
Once all mods are copied, return to the launcher and click Play.
Enabling Mods on Single Player worlds
By default, mods will not be enabled on new or existing single player worlds. Follow the steps below to learn how to enable them!
New World
Open Hytale.
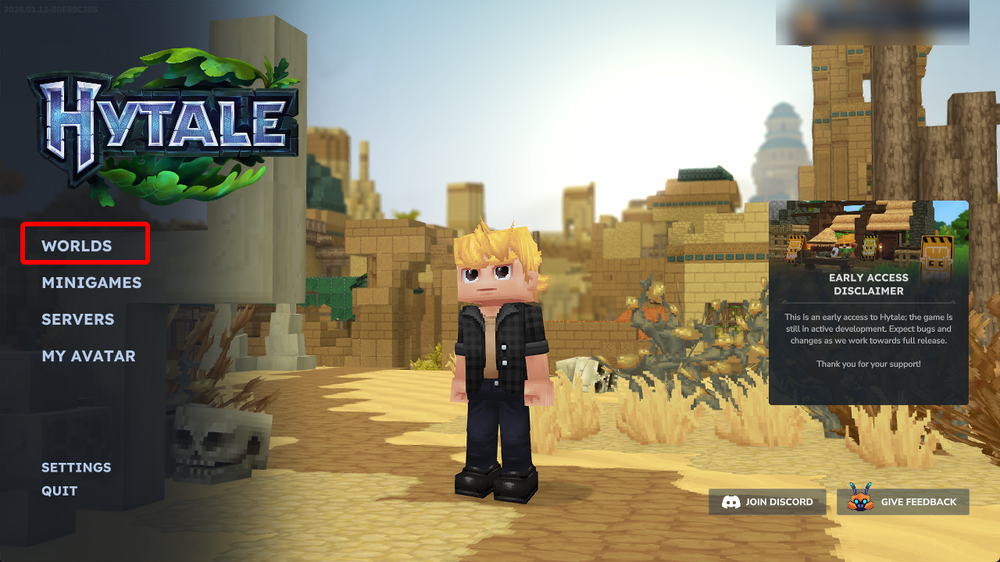
Select Worlds.
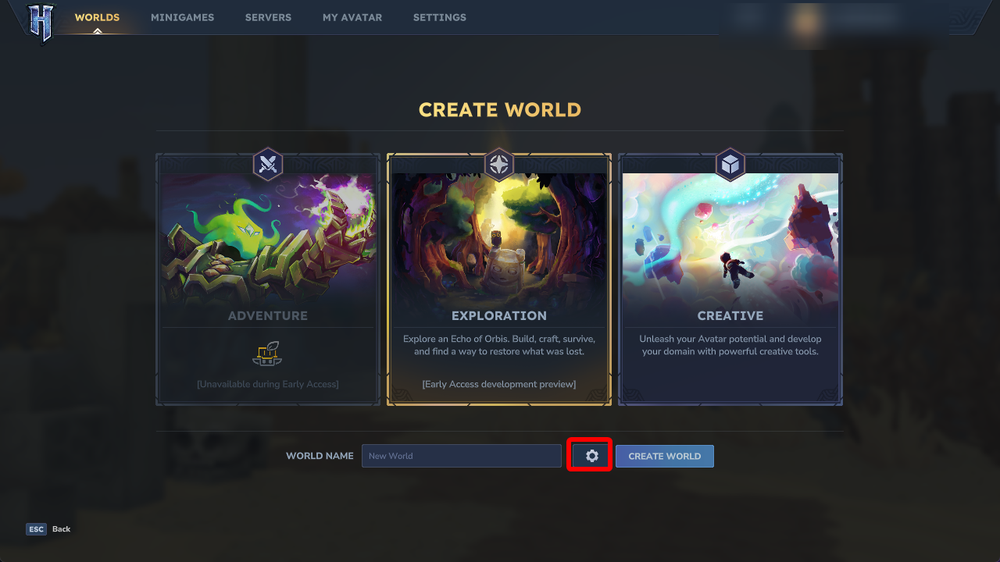
Select your gamemode, enter a name then select gear icon next to the name input box.
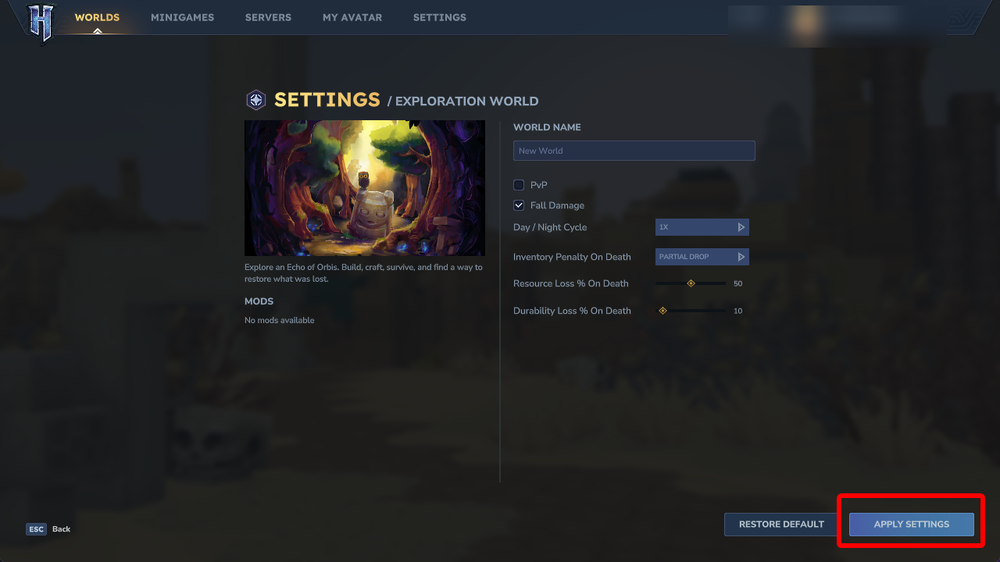
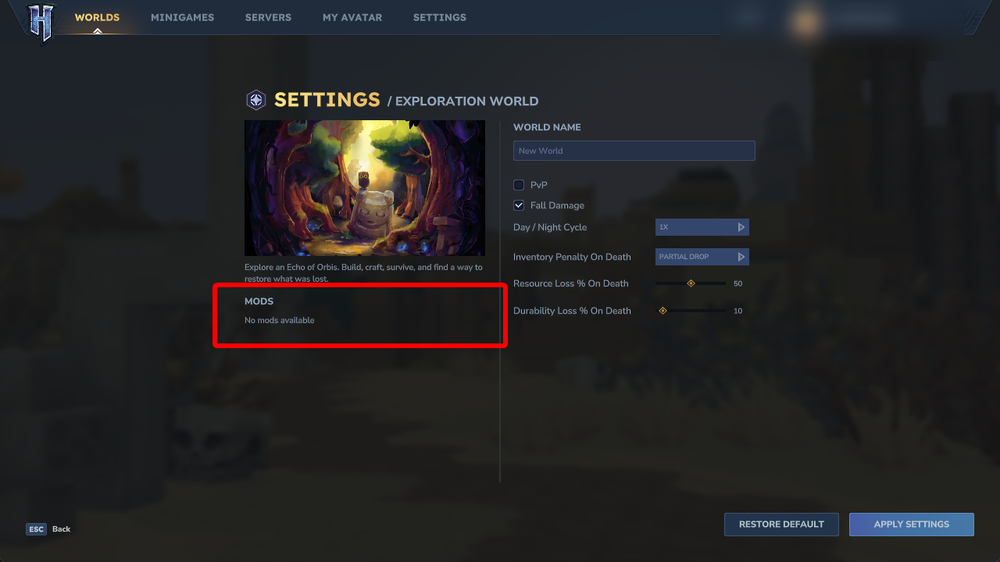
Once on the world settings, check the box for the mods that you would like to be enabled.
Once done, click APPLY SETTINGS, then CREATE WORLD.
Existing World
Open Hytale.
Select Worlds.
Locate the world to which you want to enable the mods on.
Right click on the world you want to enable the mods on to open the world settings.
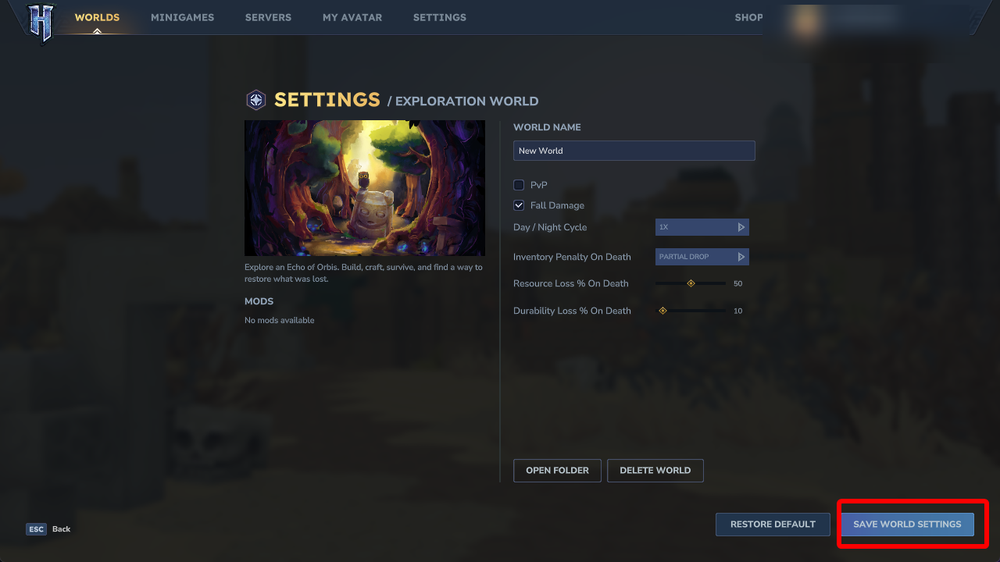
Once on the world settings, check the box for the mods that you would like to be enabled.
Once done, click SAVE WORLD SETTINGS.
Conclusion
You now know how to find, install, and enable mods for Hytale across servers and clients. From using the built in mod manager to uploading files manually, you have multiple ways to customize your server to fit your playstyle. Mods open the door to new mechanics, content, and quality of life improvements, allowing you to shape your Hytale world exactly how you want it!
Need Help?
If you have questions or run into any issues, our support team is here to help! Reach out using the support widget on our website or visit our support center for further assistance.