How to Use the CurseForge Launcher
Modded Minecraft adds new systems, mechanics, and entire gameplay experiences, but managing everything requires the right tools. CurseForge provides a centralized launcher that makes it easy to browse modpacks, install them, remove them, and adjust performance settings without digging through game files manually.
Using CurseForge gives you control over how Minecraft runs on your system. From installing your first modpack to adjusting memory allocation for smoother gameplay, the launcher handles most of the heavy lifting while still allowing customization when you need it.
Let's jump into using it!
How to Install the CurseForge Launcher
Download the CuseForge launcher form the following link: Download
Note: You can pick to install it with Overwolf or Standalone (Without Overwolf)
You will be greeted by a screen where you need to choose a game, in this case, Minecraft.
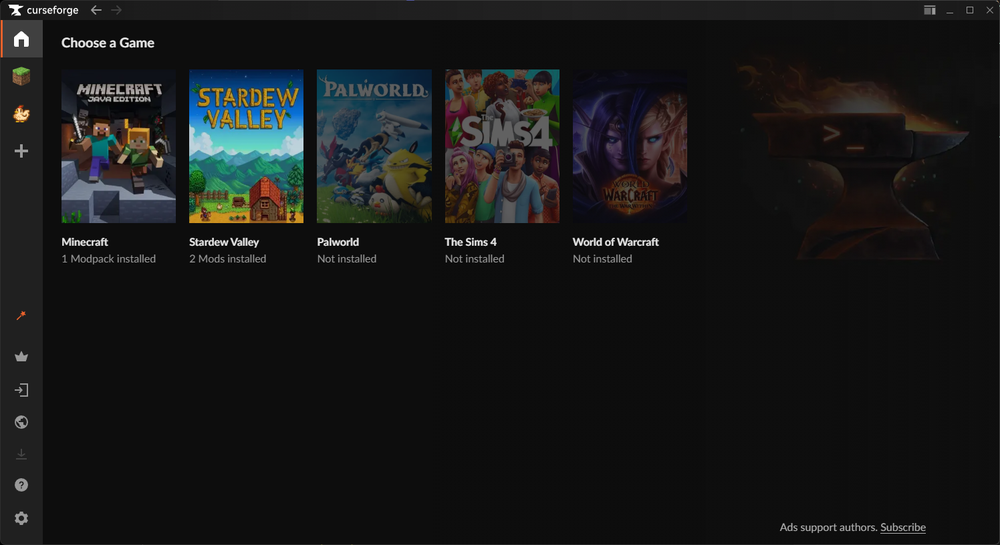
Note: You will be given an option for Standard or Advanced. In most cases Standard is what should be used.
Once setup for Minecraft has been completed the launcher is ready to use.
How to Install a Modpack
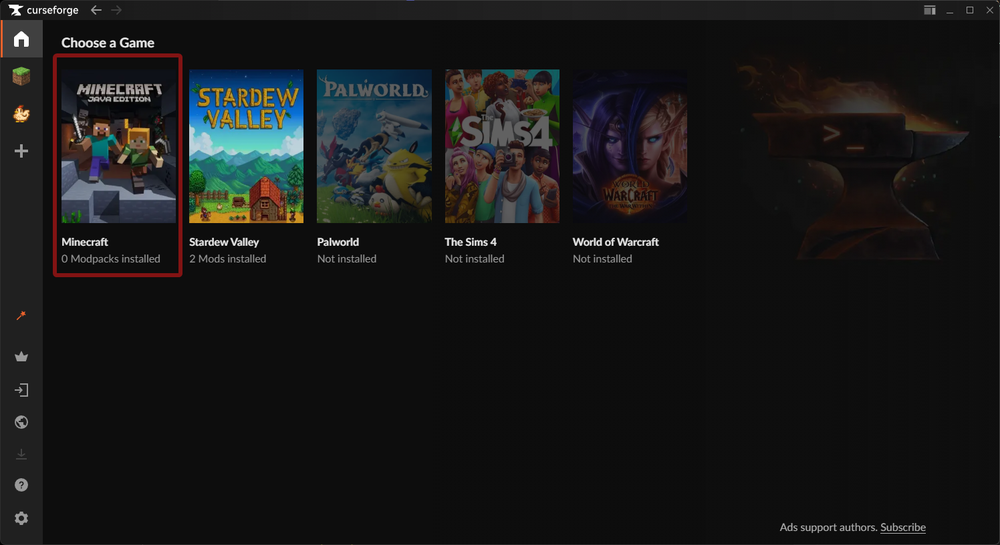
Open CurseForge and click on Minecraft.
Once you select Minecraft, you'll be able to search for the modpack you’d like for example, RLCraft, using the top search bar.
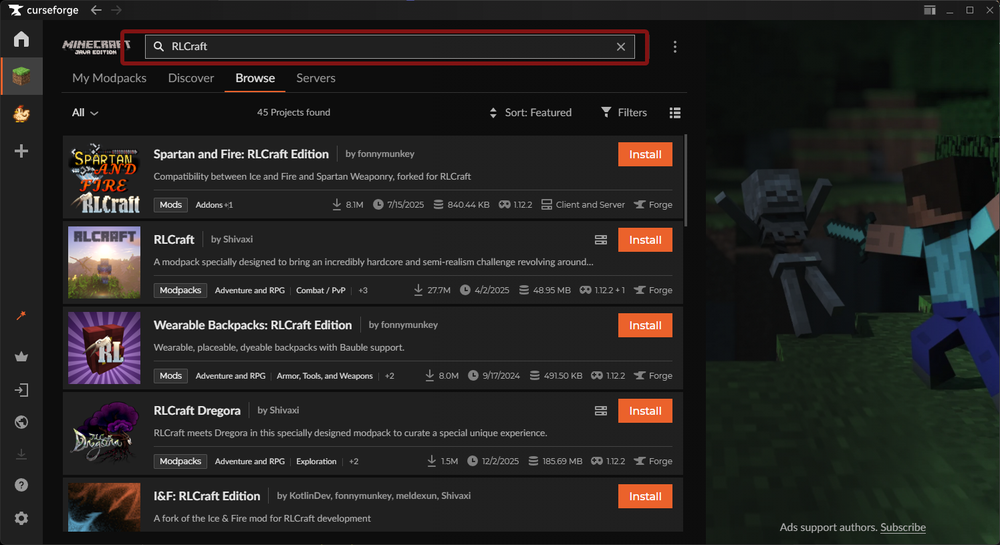
Locate the modpack.
Click the Install button.
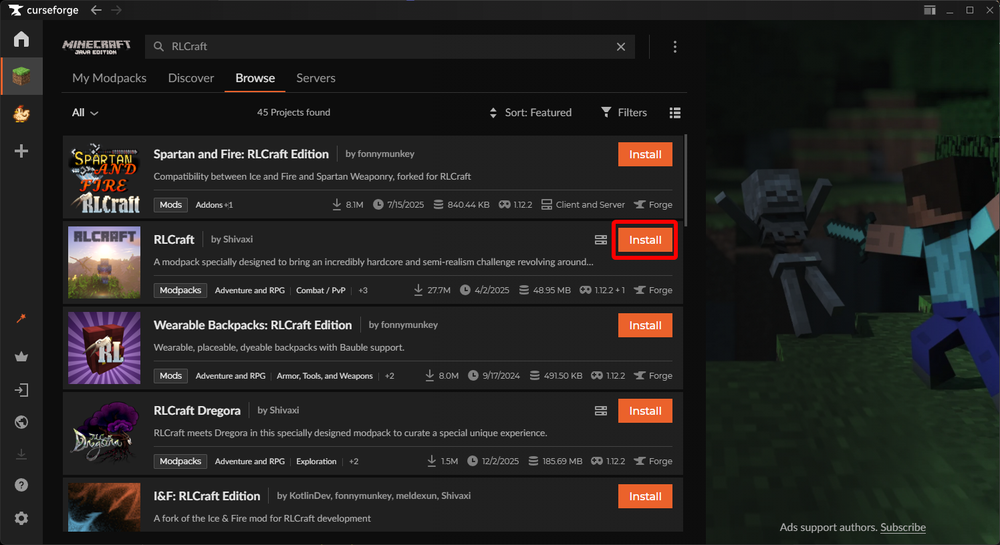
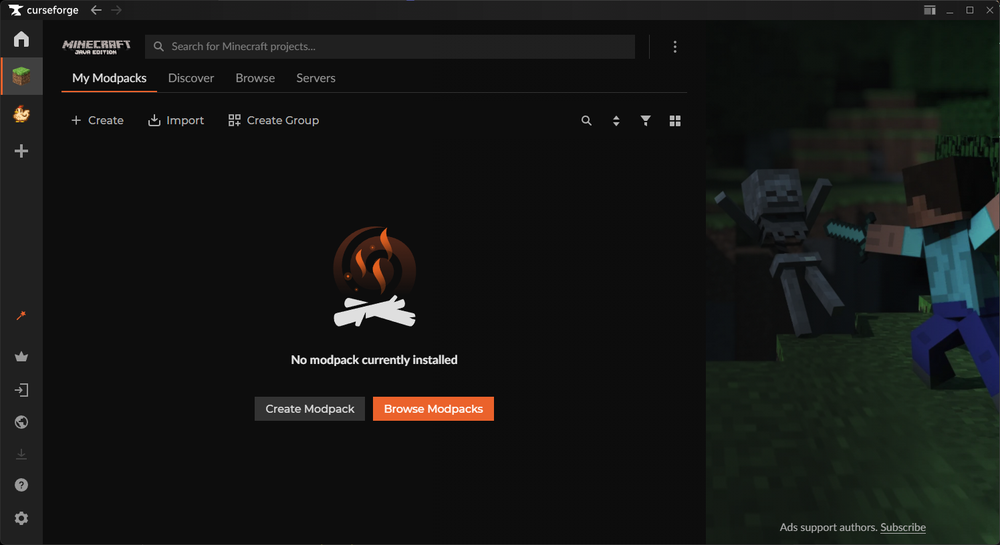
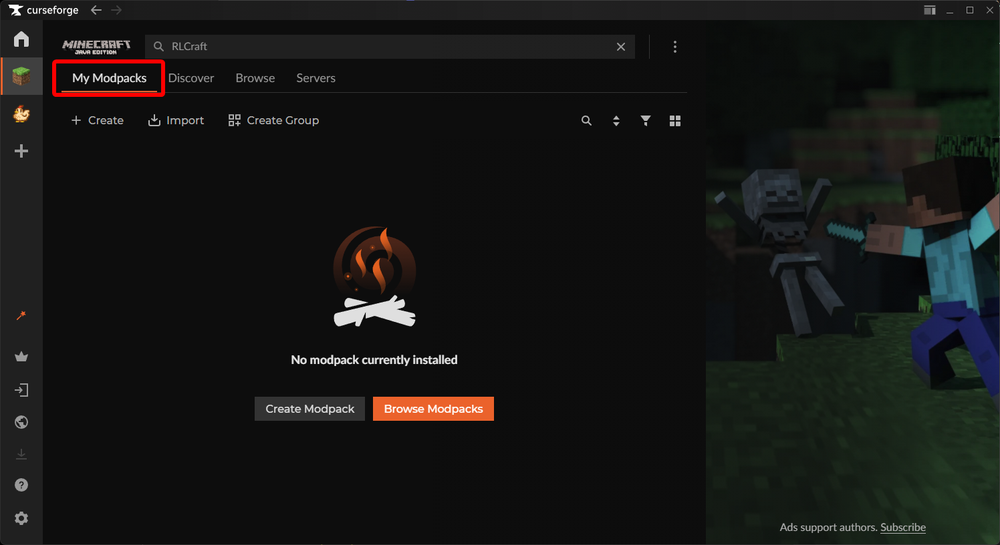
When the install is complete, you can click Play which replaces the install button or click on My Modpacks to see RLCraft or any other modpack that you might have installed.
How to Remove a Modpack
Open CurseForge and click on Minecraft.
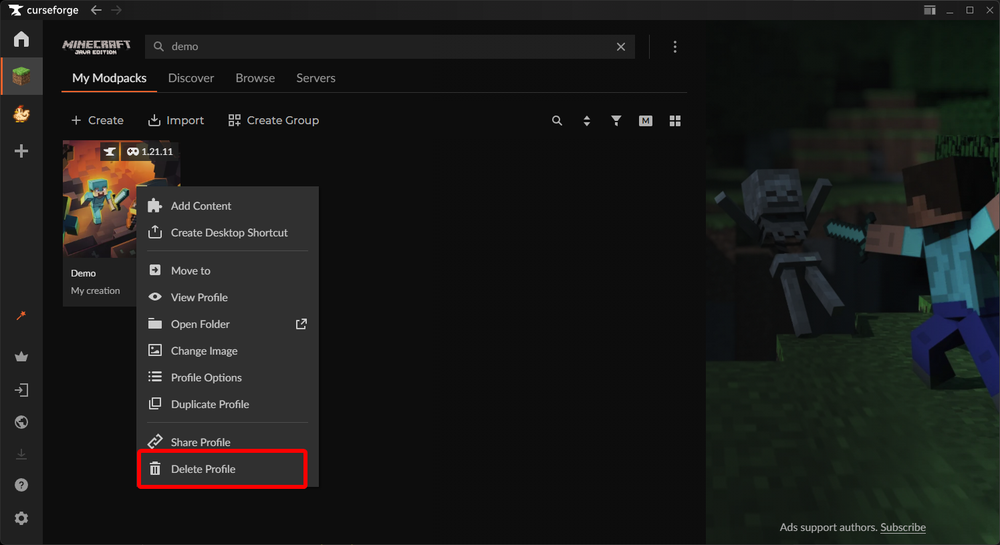
Find the modpack that you’d like to remove.
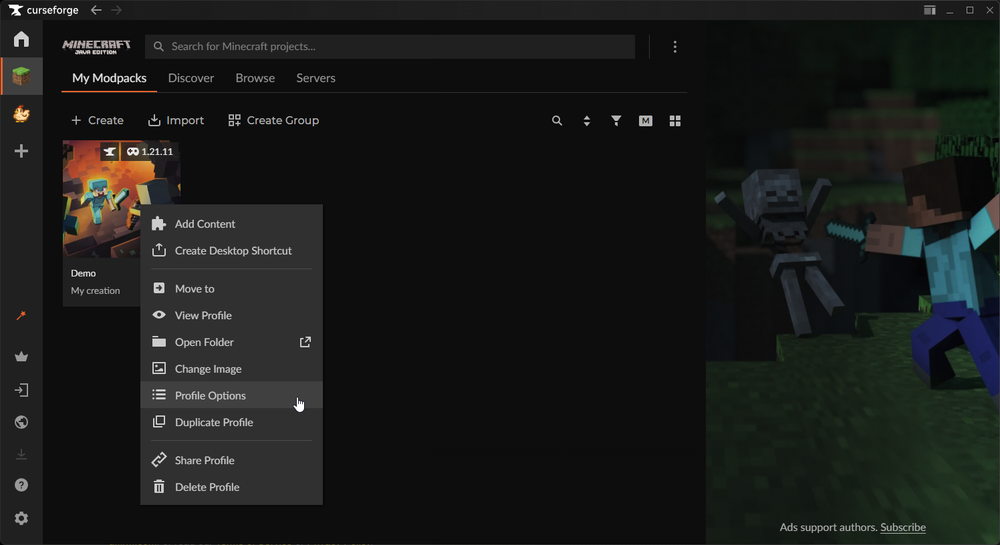
Right click and click Delete Profile.
How to Increase Memory Allocation for all Minecraft Profiles.
Open CurseForge.
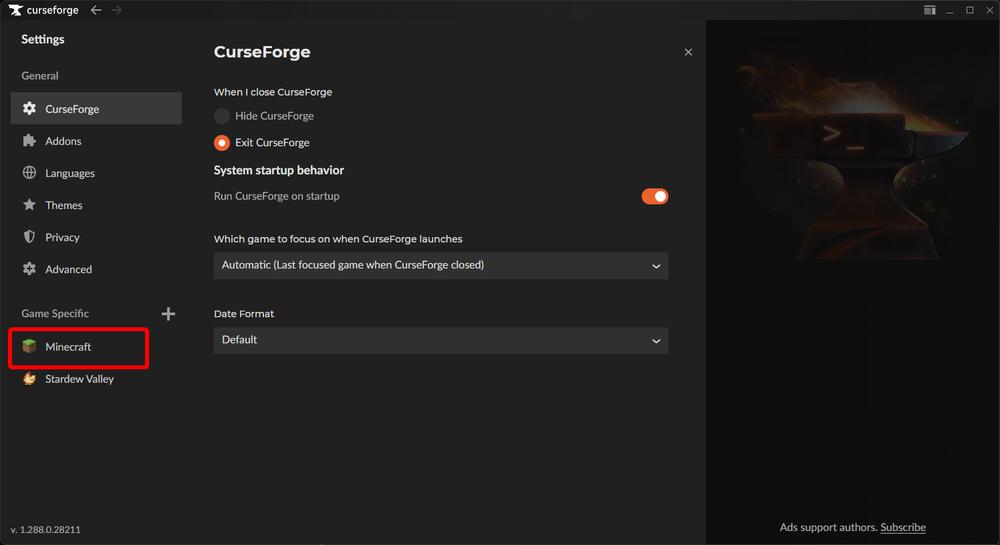
Once opened, click on the Settings icon in the lower left corner.
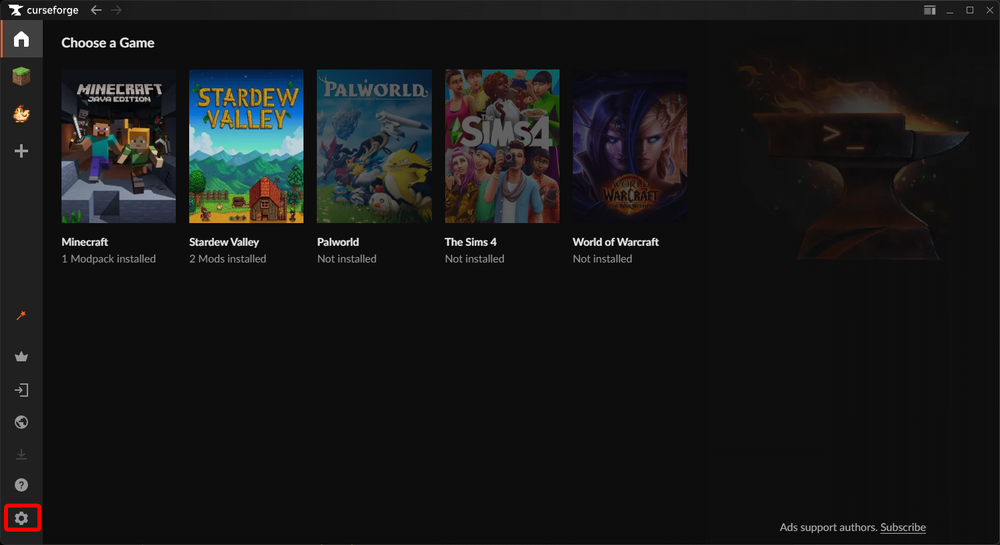
Once on the settings page, click on Minecraft in the lower left corner of the sidebar.
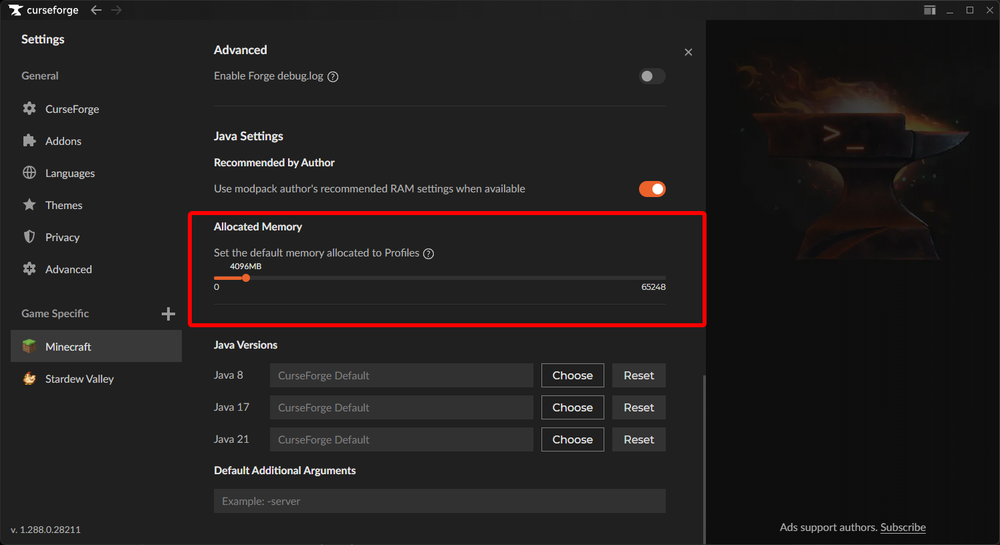
Once on the Minecraft settings page, scroll down and you will see “Allocated Memory” with a slider. For most modpacks 4-8GB/4096mb-8129mb is an acceptable amount of memory. The maximum amount of memory that can be allocated cannot exceed what your computer physically has installed. Maxing out your memory allocation does not guarantee additional performance in game and can actually cause stability issues in some cases.
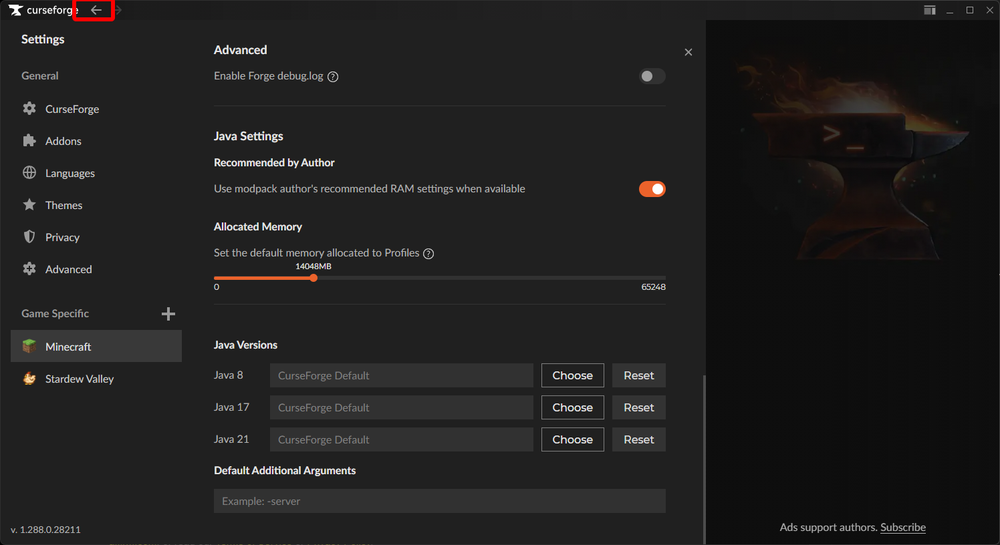
Once you change your memory allocation via the slider it’s automatically applied and all you need to do is click the back button to return to the main launcher.
How to Increase Memory Allocation for a Single Modpack
Open CurseForge and click on Minecraft.
Once on the Minecraft page, locate the modpack that you want to increase the memory allocation on. Once located, right click and select Profile Options.
Once on the options page you will see a section for Memory Settings.
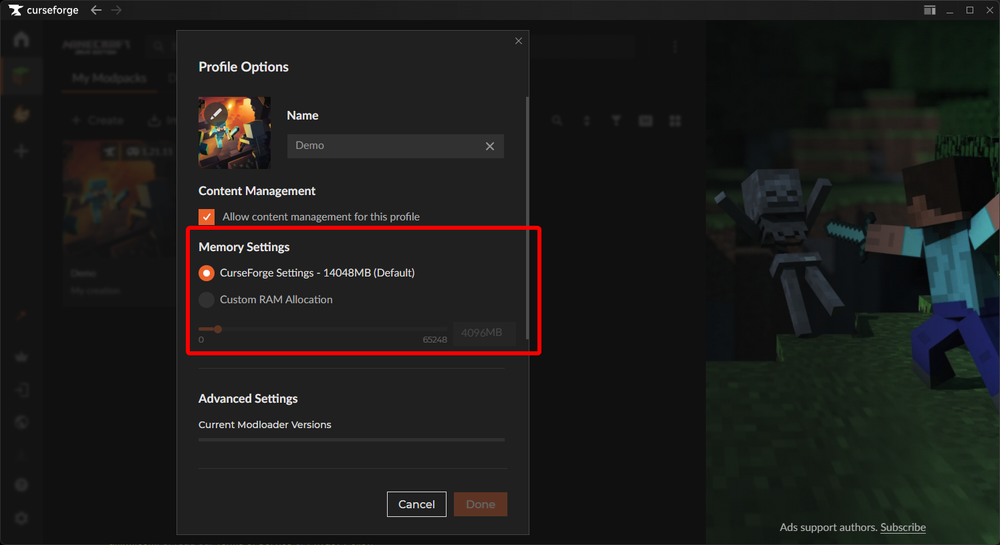
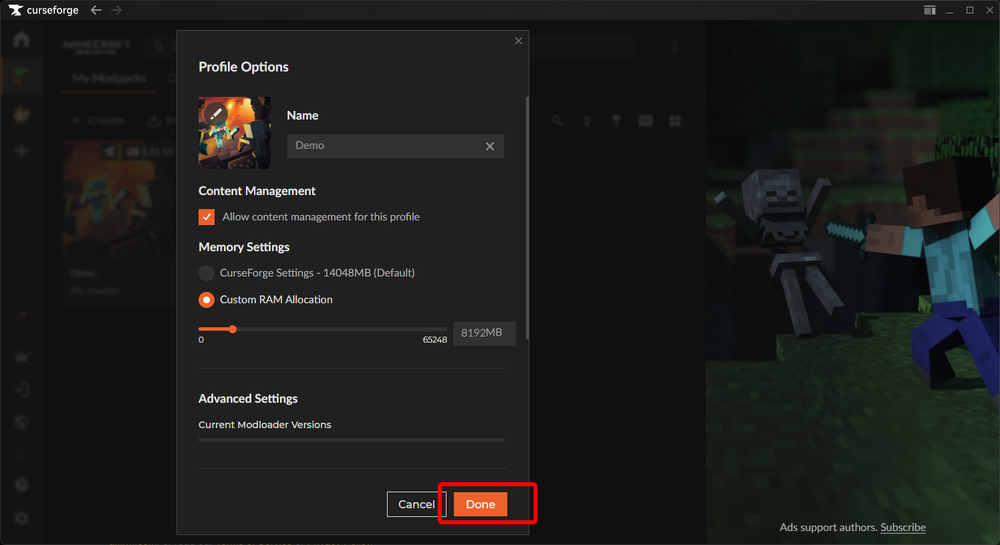
Select Custom RAM allocation then use the slider to set your desired amount of RAM. For most modpacks 4-8GB/4096mb-8192mb is an acceptable amount of memory. The maximum amount of memory that can be allocated cannot exceed what your computer physically has installed. Maxing out your memory allocation does not guarantee additional performance in game and can actually cause stability issues in some cases.
Once you are done making changes, click on Done.
Conclusion
And just like that, you’re ready to dive into the world of modded Minecraft with CurseForge running the show behind the scenes. Installing modpacks, cleaning up old ones, and tuning memory settings now takes only a few clicks instead of a full expedition through folders and guesswork.
A little RAM tweaking can go a long way toward smoother gameplay, fewer crashes, and less yelling at your screen when things get chaotic during a boss fight or massive base build. Keeping your launcher organized also makes it easier to jump between different adventures without breaking anything along the way.
Now it’s time to hit play, load up something new, and see how many mods you can stack before your friends ask, “What even is this game anymore?” 🚀
Need Help?
If you have questions or run into any issues, our support team is here to help! Reach out using the support widget on our website or visit our support center for further assistance.