How to Play Tekkit 2 on Your Minecraft Server
Tekkit 2 brings classic industrial modded Minecraft back with modern updates, combining automation, power systems, and tech-focused gameplay into one streamlined pack. If you want to host a server and dive into the world of machines and factories with friends, this guide will show you how to set it all up using the Technic launcher.
Installing the Modpack on Your Server
Note: Be sure that your Minecraft server is fully stopped before installing a modpack.
Using the One-Click Installer
Navigate to your Nodecraft Dashboard.
Click the Panel button for your Minecraft server.
Locate and click Installer, under Server Files, in the menu on the left side.
Enter Tekkit 2 in the Search box. The results will update automatically as you type. This is the modpack you’re looking for:

In the Selected to be Installed box, choose the desired version of the modpack you want to install.
For the Install Method, choose between Archive and Fresh Install, then click Install at the bottom.
Once the installation is complete, start your server. Once the server is online, you’re ready to join!
Manually Uploading the Server Files
Navigate to the webpage for Tekkit 2: https://www.technicpack.net/modpack/tekkit-2.1935271
On the right side, click the Server Download button, then save the file somewhere you can easily access, such as your Downloads folder or desktop.
Navigate to your Nodecraft Dashboard.
Click the Panel button for your Minecraft server.
Note: If you want to save any of the files already on your Minecraft server, now would be the time to make a backup. You can find our guide for this here.
Locate and click Server Files in the menu on the left side.
Choose Select All at the bottom, then click Apply to select all the files.
Click Delete at the top, then Permanently Delete.
Now that your server is empty, click Upload at the top, then drag the BTeam zip file from your computer into the server.
⚠️Note: Wait until the upload is complete before closing the popup. ⚠️
Once uploaded, click on the zip file, then click Unzip at the top, and click Extract.

Setting the JAR File and Java Version
Now that the files are uploaded and extracted, we need to tell the server to load the correct JAR file with the correct Java version.
Click Game Settings on the left side, then click the Java tab.
For Java Version, select openjdk:8-jdk and for Server Jar, select the Forge JAR that was in the modpack server files..
Scroll down to the bottom of the page and click Submit to save your changes.
Now you’re ready to start your server. Once the server is online, you’re ready to join!
Connecting to the Server
Download and install the Technic launcher. You can find this here: https://www.technicpack.net/download
Once installed, open the Technic launcher. Click Add Microsoft Account and log in with the Microsoft account where you own Minecraft.
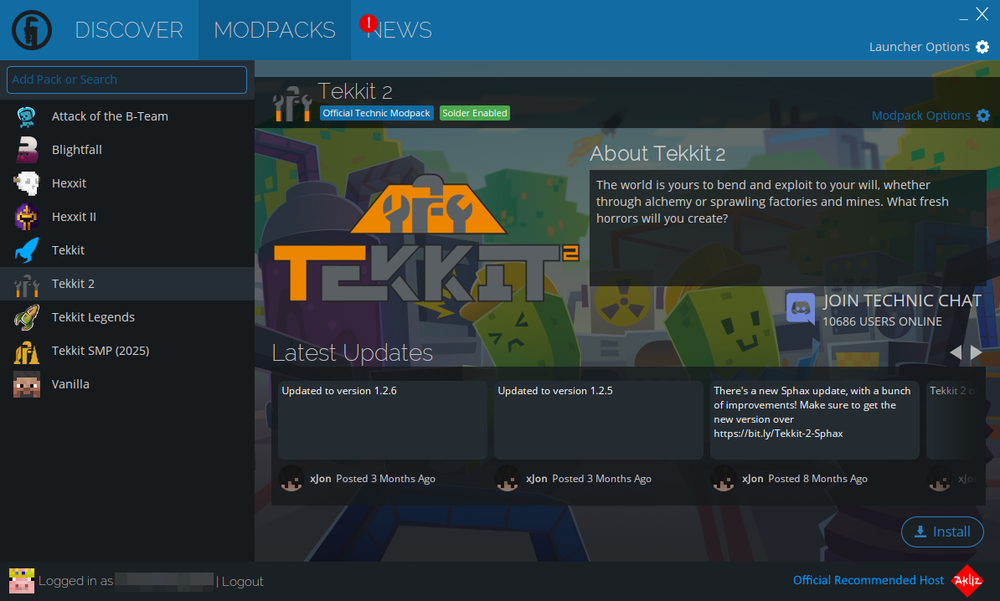
After logging in, return to the Technic launcher and click Modpacks at the top.
Tekkit 2 is one of the default Technic packs, so it’s right on the main page. This is the modpack you’re looking for:
Click Install in the lower right and Technic launcher will begin downloading and installing the necessary files.
Once it’s done, click Play and the launcher will open Minecraft with Tekkit 2 installed!
After a few minutes, you’ll get to the main screen:

From here, click Multiplayer and you’ll be presented with the Minecraft multiplayer menu. Click Add Server at the bottom.
Enter in a name for your server (this will only be used to distinguish the server in your Multiplayer list) and the Server Address (this can either be your server’s domain or IP address) and then click Done.

This will add the server to the list of servers. Move your mouse over the server and click the play button (1) or click on the server, then click the Join Server button (2) to connect!

Need Help?
If you have questions or run into any issues, our support team is here to help! Reach out using the support widget on our website or visit our support center for further assistance.