How to join your Minecraft server
This guide walks you through how to join your Minecraft server using either the numeric IP address or the host name provided by your server panel.
Locate Your Server Info
Log in to your Nodecraft panel.
Navigate to your Minecraft server.
Open the Minecraft Server Panel.
In the Overview section, locate the Host Name or Numeric IP.
Copy one of these—either can be used to connect.

Connect via "Add Server" Option
Launch Minecraft.
Click Multiplayer.
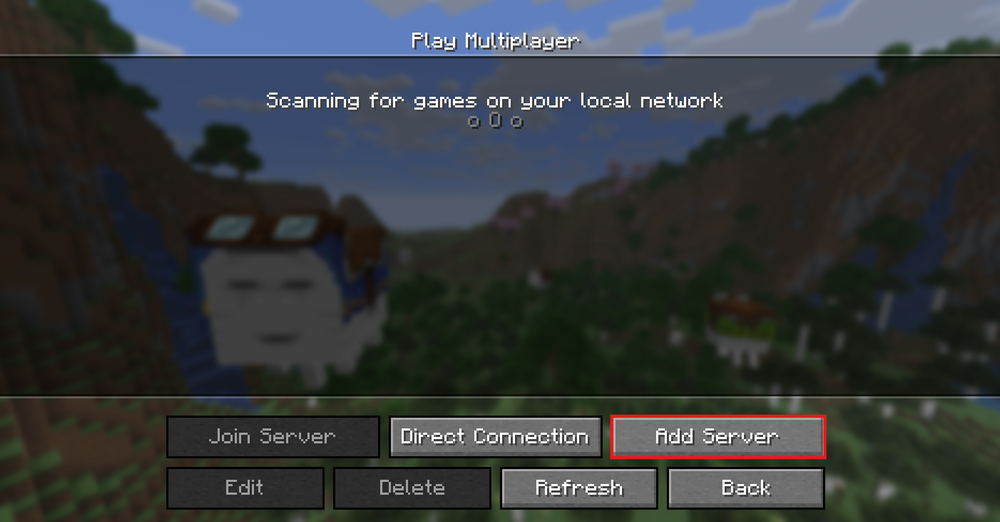
Click Add Server.
 4. Enter a name for the server (this can be anything).
5. Paste the IP address or Host Name into the Server Address field.
6.Click Done.

7. Select the server from the list and click Join Server.
Connect via "Direct Connect" Option
Launch Minecraft.
Click Multiplayer.
Click Direct Connect.
Enter the IP address or Host Name in the Server Address field.
Click Join Server.

Troubleshooting Tips
Make sure your server is running and shows Online in green in the panel.
If you're using a modded server, launch Minecraft using the same modpack via a launcher like CurseForge.
If you're having trouble joining through Add Server, try using Direct Connect instead.
Ensure the Minecraft version and modpack version (if applicable) match those installed on the server.
Conclusion
You can join your Minecraft server using either the numeric IP or DNS host name through the Multiplayer menu. Whether you use Add Server or Direct Connect, just be sure all versions match and your server is online.
Need Help?
If you run into issues, our support team is ready to assist you!
Use the support widget on our website or visit the Nodecraft Support Center.